

Harvest season is the perfect time to fill up your shopping cart with local foods. We’ve all heard a lot about canning and freezing, but there’s a new trend on the scene: dehydrating. So read on to learn how you can harness the power of dehydration in just a few easy steps!
What is food dehydration?
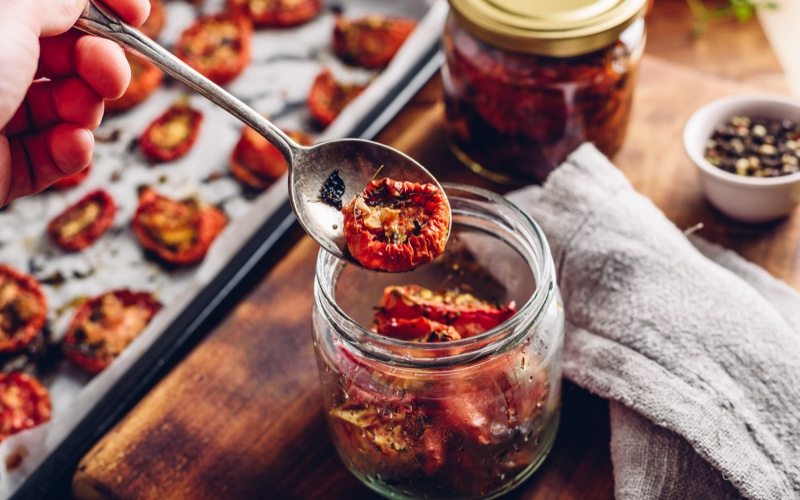
Dehydration is a process in which most of the water contained in food is removed, thereby stymying the growth of bacteria. Your typical fruits and veg—which are 80-90% water—come out the other side of dehydration only 30% H2O. Removing all this water basically compacts your food into little, nutrient-rich energy bombs.
Plenty of perks
There are tons of benefits to drying food. First off, it allows you to keep food at room temperature, which is extra handy when that freezer starts overflowing. Just vacuum seal and store your now-dry goods away from humidity and light. Dehydrated goodies take up less space, don’t weigh much, and are therefore super easy to take anywhere. Pretty much the perfect grab-and-go snack!
Food dehydration is also a fantastic way to grow your recipe repertoire. You can easily weave dried fruits and veggies into your granolas, salads, and flavourful snacks. In addition to being super versatile in the kitchen, food that’s dehydrated at home has the added benefit of being sugar, preservative, and additive free—a.k.a. healthier than what you buy in store. Also, most minerals, protein, and vitamins remain intact post dehydration—except certain vitamins that can’t handle the heat, like C, B1, and B9.
Which foods dry best?
Super easy to do!
No expensive appliance required to cash in on this new culinary trend! Even though electric dehydrators come in quite handy, all you need to get started is a conventional oven. Simply pre-heat to a low temperature (160 °F / 70 °C) and well you’re on your way. Note that dehydrating times vary due to several factors, including humidity and thickness. Pressed for time? Don’t make the mistake of turning up the heat, because you may just end up cooking your food instead of merely removing water. So here’s how to dehydrate right in a few simple steps:
- If you’re dehydrating fruits or veg, make sure they’ve been washed and peeled beforehand. Most vegetables should be blanched to kill off any pesky microorganisms.
- Next, cut your food up into uniform slices. If you’re working with fruit, sprinkle it with a bit of lemon juice to prevent browning.
- Space out food on a tray lined with wax or parchment paper. Keep each item ½ inch from the next in order to maintain good airflow.
- Keep in the oven until properly dehydrated. Using a wooden block, leave your oven door slightly ajar to release steam. Dehydrating times may vary from one food to the next, but most foodsshould take 8-12 hours to dehydrate.
Pro tips
Not sure if your food has been totally dehydrated yet? Press down on it with a paper towel: if the towel comes back dry, that means it’s ready. If you want to rehydrate your food, simply soak it in 3 times its volume in water.
Not-your-average chips!
Now that you know all there is to know about dehydrating food, it’s time to put your knowledge into practice. So here’s a recipe for chips that will convince you of just how good dehydration can taste!
Ingredients
4 red apples, peeled
1 cup lemon water
2 teaspoons sugar
1 teaspoon cinnamon
1 teaspoon ground nutmeg
Directions
Preheat oven to 160 °F (70 °C).
Use an apple corer to remove cores.
Slice peeled apples thinly with a mandolin.
Dip each apple slice into lemon water, removing any excess moisture, then dust with sugar and spices.
Place apple slices on the baking sheet, then heat in the oven for 6-8 hours, keeping the door ajar. Dehydration times will vary by oven.
With all the grey fall weather ahead, you’ll have plenty of opportunities to experiment with dehydrating food. All you need is a little patience…and a whole lot of seasonal treats!

